Introduction
There are more than 50 heroes in Overwatch, and not all of them are beginner-friendly. While the challenge of learning a difficult hero like Genji or Wrecking Ball is fun, it’s not a good idea when you are new to the game. Things like positioning, target prioritization, mechanics, and movement take time to learn. You don’t want to tackle that while also learning a difficult hero. So, here are some great Overwatch heroes for beginners that are relatively easy to learn but still have a lot of depth once you start getting better.
For this list, we focused on heroes that have a rather large ‘margin for error’. A hero like Reinhardt is a very simple hero in essence, but his shield has a rather low error margin, for example. If he drops it too often in unexpected moments, the team will suffer for it. So for this list, we’ve chosen heroes that allow you to contribute to the team without being the ‘focal point’ of your team.
Soldier 76
Soldier 76 is your classic CoD-style hero. He’s got a hitscan assault rifle, the ability to sprint, and can heal himself. He is also the hero you play the tutorial with, so most players are already familiar with his kit. He is a reliable damage dealer and survives on his own, making him the perfect beginner pick for most players. Here is a quick overview of his abilities.
Kit Overview
- Heavy Pulse Rifle: Fully automatic hitscan rifle that excels at consistent mid-range damage.
- Helix Rockets: Fires a burst rocket that deals heavy splash damage.
- Sprint: Unlimited sprint that allows the Soldier to reposition quickly.
- Biotic Field: Deploys a healing field that restores health for the Soldier and nearby allies.
- Tactical Visor: Automatically tracks enemies within view. In short, this is an aimbot for a short period.
Playstyle
Soldier 76 is a poke hero, which basically means he thrives at long range. With Soldier 76, you should be focusing on good positioning. Try finding good angles or high ground to deal damage from. Soldier 76’s healing ability basically makes him self-sufficient, so you don’t need to always be around your healers. You can split off from the team, find good angles to pressure the enemy team, heal when needed, and quickly rotate back if pushed.
In the lower ranks, you can also go on flanks. His sprint allows him to move quickly through the map, so you can go for a flank from time to time. But beware, he is not the best at it.
There are a lot of riflers in Overwatch, each with their unique gimmicks. If you like playing with a Burst rifle, you can try Emre or, if you want more mobility, Sojourn and Sierra are good shouts as well. Soldier: 76 is the most straightforward hero though.
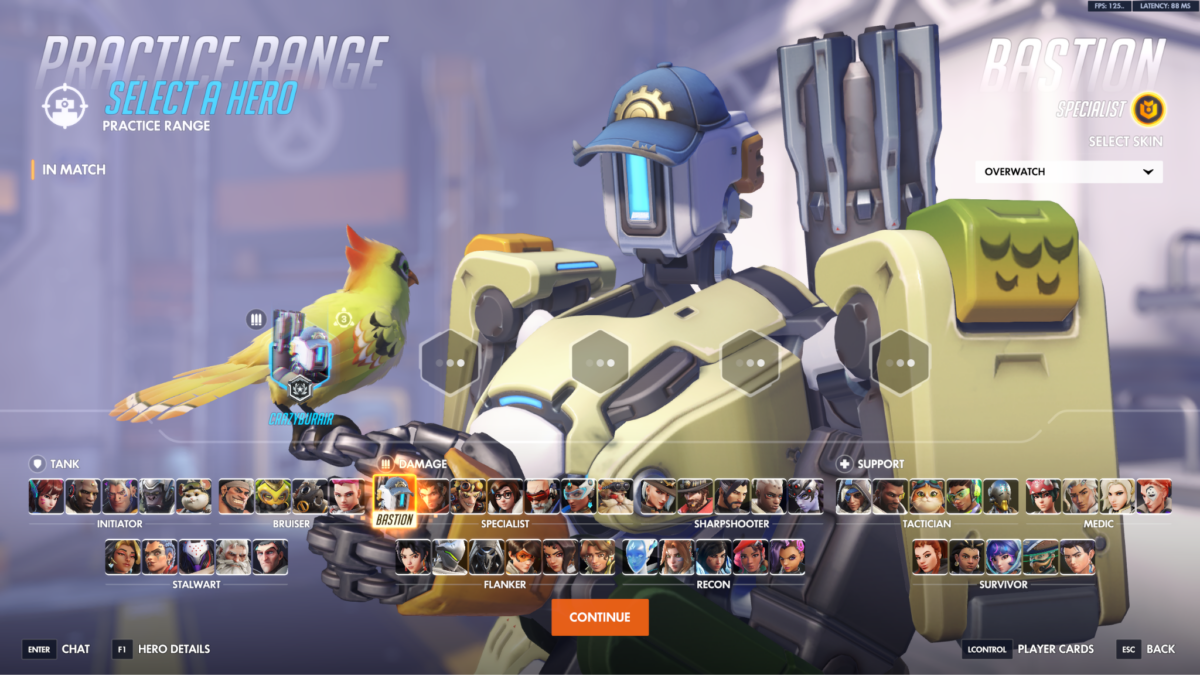
Bastion
Bastion is the easiest hero to find value from because of his massive damage output. His ability to melt tanks and pressure objectives makes him extremely threatening, especially in lower and mid ranks, where positioning mistakes are common. Here is a quick overview of his kit.
Kit Overview
- Recon Configuration: Standard weapon mode with slow hitscan rifle
- Assault Configuration: Transforms Bastion into a mobile turret with massive DPS. Additionally, you also get 20% damage reduction thanks to the Ironclad Passive while in turret form.
- A-36 Tactical Grenade: Launches an explosive grenade.
- Reconfigure: Allows Bastion to swap between combat forms.
- Artillery: Ultimate that fires multiple explosive strikes onto targeted locations.
Tip: The A-36 Tactical Grenade has a strong knockback effect, so you can also use it for mobility.
Playstyle
Bastion is all about applying overwhelming frontline pressure. He can work in brawl and poke comps. He excels at shredding tanks, breaking shields, and forcing enemies out of position. The Assault Configuration is his main ability, where he can deal massive amounts of damage, but it’s also on a 12-second cooldown. So, it’s all about cooldown management and when you use it. Don’t go in turret form in the open, find cover and angles to shred enemies from.
Generally, you should stay near your team and wait for opportunities to safely enter turret form and unload damage.
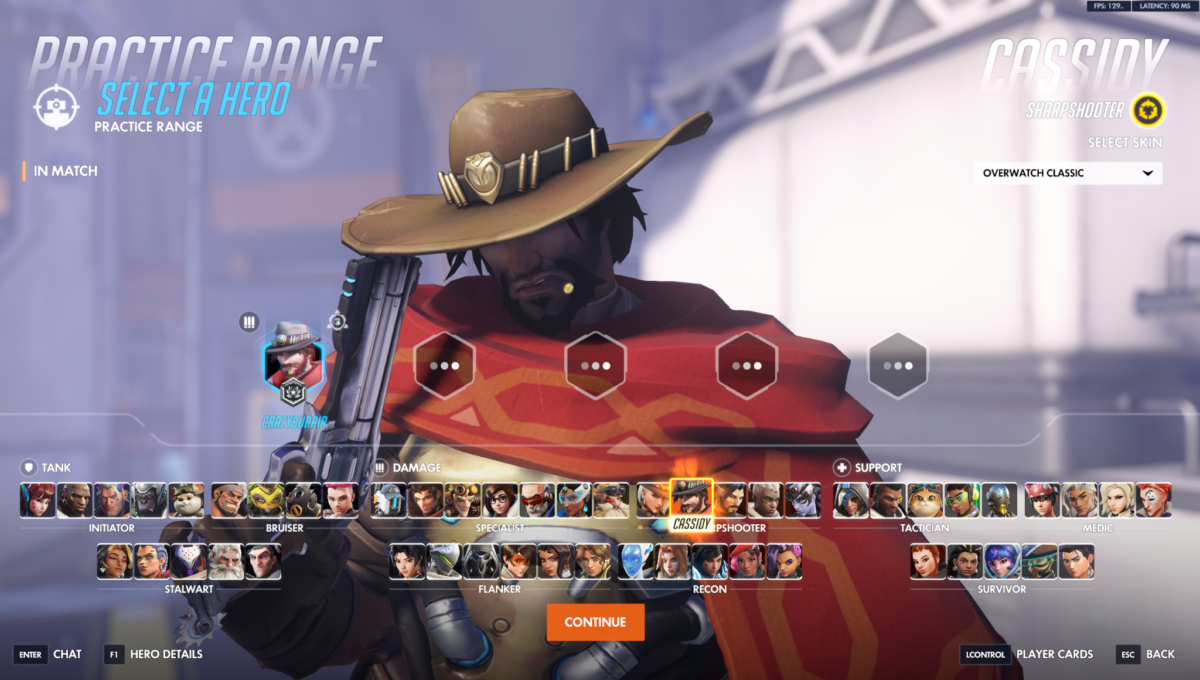
Cassidy
Cassidy is a simple hitscan hero that rewards good aim and target prioritization. His kit is built around his hitscan revolver that deals a lot of damage but requires precision. If you are coming from games like CS2 and VALORANT, Cassidy’s playstyle will feel familiar. It’s all about hitting your taps.
Tip: Throughout the lifespan of the original Overwatch, Cassidy was named ‘McCree’. So if you hear players talking about McCree, you’ll know they’re talking about Cassidy. It’s handy to know this in order to avoid confusion.
Kit Overview
- Peacekeeper: High-damage revolver effective at mid range. Right-click to unload the entire magazine; this is effective at very close range, but inaccurate otherwise.
- Combat Roll: Quick dodge that also reloads Cassidy’s weapon.
- Flashbang: Short travel flashbang that stuns and hinders enemies.
- Deadeye: Starts locking on to enemies after activation. Press the ult or fire button to fire shots at locked enemies, dealing huge damage.
Tip: Drag your crosshair down when you’re alt-firing, it helps control the recoil and lands more shots.
Playstyle
Cassidy’s kit rewards good aim, so if you can consistently hit headshots or body shots, you are going to be a threat to the enemy team. It only takes one body shot and one headshot to take down most DPS and supports.
However, Cassidy is not a forgiving hero if you miss your shots. He doesn’t have any self-sustain or good mobility to escape. If you get pushed, you’d better land a headshot to finish the fight quickly.
He is a brawl hero, which means sticking together with your team and running the enemy team down with numbers. Just stick close to your healers, keep applying pressure, and focus on low-health enemies.
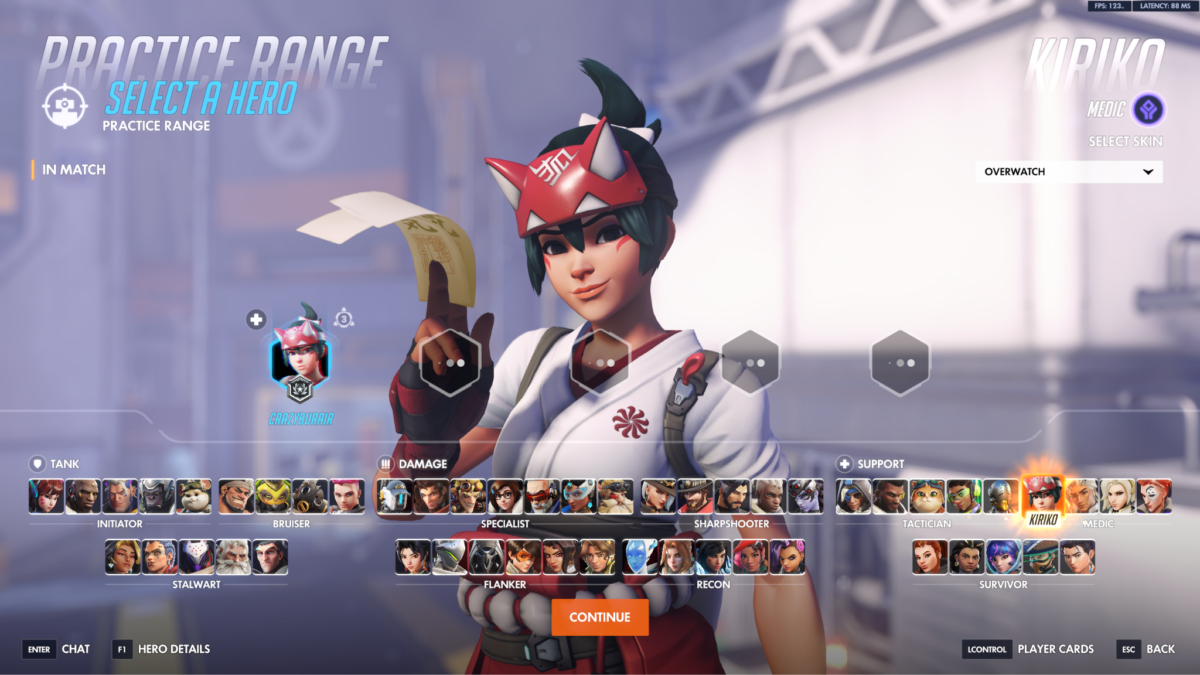
Kiriko
Kiriko was the first hero to be added when Overwatch went free-to-play. She has strong healing output, high survivability, and is quite forgiving, making her a great beginner healer to learn for players who want a hero with a little bit more intricacy. She is one of the easiest flex supports to consistently carry games with due to her mobility and game-changing utility.
Kit Overview
- Healing Ofuda: Homing healing talismans that track allies.
- Kunai: A projectile kunai with extremely high critical hit damage.
- Swift Step: Teleports directly to teammates through walls. She can also climb walls like Hanzo and Genji.
- Protection Suzu: Briefly cleanses and grants invulnerability to allies as well as a short healing burst.
- Kitsune Rush: Creates a path that boosts ally speed, fire rate, and cooldown recovery.
Tip: Swap the binds for Healing Ofuda and Kunai. By default, Kunai is on alternate fire or right click, which can throw off your muscle memory.
Playstyle
Kiriko’s high mobility makes her a perfect support for aggressive comps. She can keep healing her teammates with Healing Ofuda from range while dealing poke damage and teleporting to save teammates with Suzu. Her teleport ability makes positioning far less punishing compared to other supports.
However, landing shots with her Kunai has a bit of a skill curve. It’s a fast projectile, so landing shots can be difficult if the enemy starts strafing. However, her Kunai does a lot of damage, especially on headshots, so if you can learn to be accurate with her, you can support your team in other ways too.
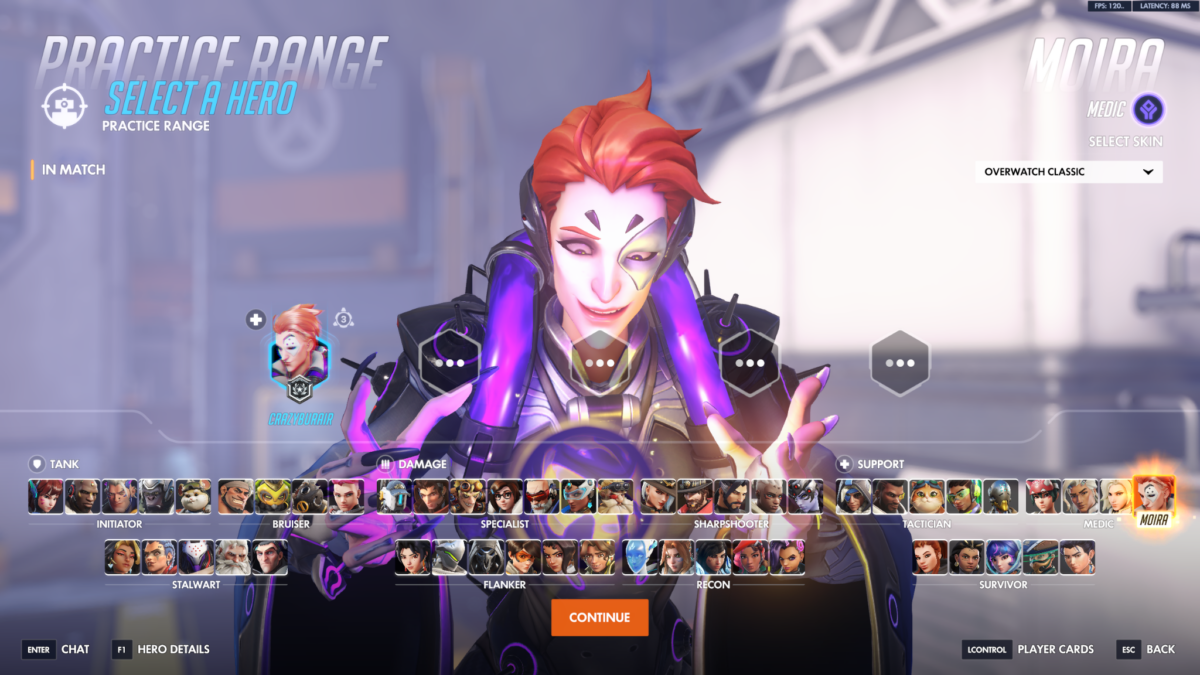
Moira
Moira is widely considered one of the easiest supports to learn because of her forgiving aim requirements, quick mobility, and decent healing output. All you need to care about with Moira is positioning, healing your teammates, and staying mobile.
Kit Overview
- Biotic Grasp: Heals allies or damages enemies depending on fire mode. Primary fire fires a healing spray, Alt fire fires a beam that latches onto nearby enemies. There is a meter on the left side of your screen that shows how much you can still heal. It will slowly replenish. You can also deal damage to fill it quicker.
- Biotic Orb: Launches either a healing orb or a damage orb that bounces around the map, and heals/damages.
- Fade: Grants temporary invulnerability and mobility for escapes or repositioning.
- Coalescence: Long-range beam that heals allies while damaging enemies.
Tip: Pressing jump at the end of the fade will give you a small vertical boost.
Playstyle
Moira’s playstyle is relatively simple. Her main damage weapon automatically latches onto enemies, taking aim out of the equation. She thrives in chaotic close-range team fights where her healing and damage can affect multiple players at once. Moira also has the freedom to pressure isolated enemies thanks to Fade.
With Moira, you have to balance healing and damage. Deal damage to fill the healing meter and then use that to keep your team alive. Take fights in close quarters, as that’s where Moira’s Orb and primary fire are the most effective. As you play her more, you will start to notice the depth in her surprisingly simple-looking kit.
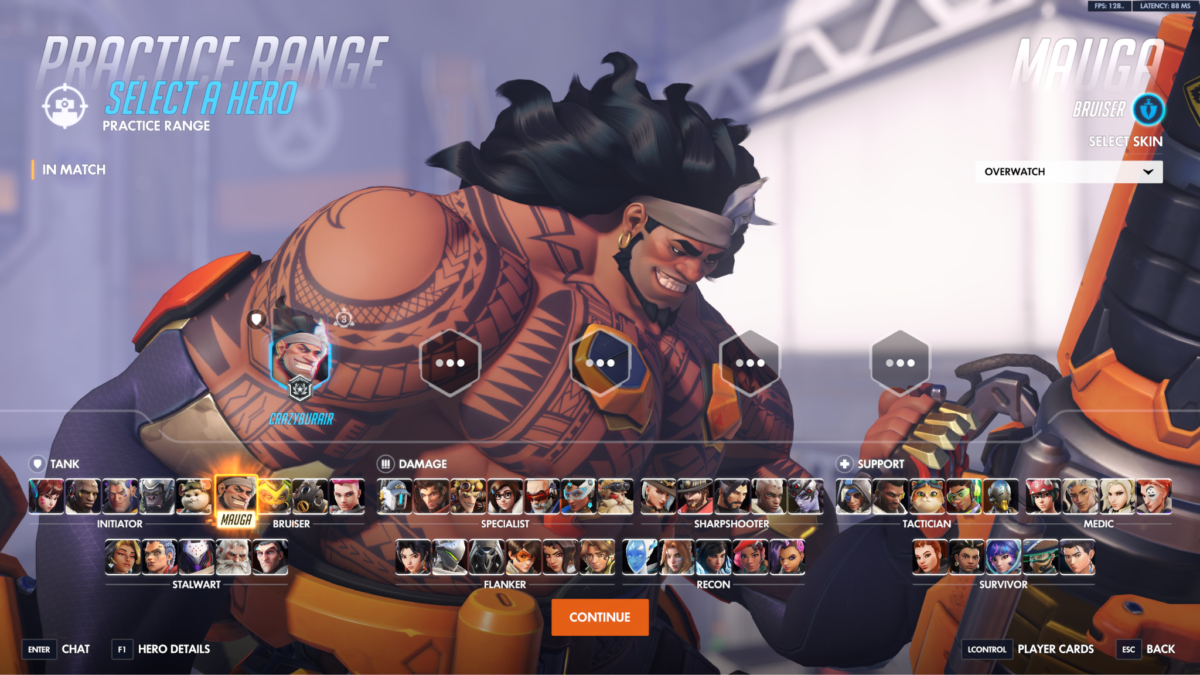
Mauga
Mauga gets a lot of hate from the community. That’s not because he is weak, but because of the fact that it’s not hard to get value out of him. He has serious damage output, low mechanical skill requirement, a lot of sustain, and is quite forgiving for new players.
Kit Overview
- Incendiary Chaingun (Primary Fire): Automatic minigun that sets enemies on fire
- Volatile Chaingun (Secondary Fire): Automatic Minigun that deals critical damage to burning enemies.
- Overrun: Charges forward while knocking enemies aside and stomps the ground at the end, dealing damage.
- Cardiac Overdrive: Grants lifesteal effects to Mauga and nearby teammates.
- Cage Fight (Ultimate): Traps enemies inside an arena while granting Mauga unlimited ammo.
Tip: Firing both guns at the same time deals more damage but significantly reduces accuracy. For close range, fire both guns simultaneously, but for longer ranges, first apply the burn effect and then fire the second chaingun to finish the enemy off.
Playstyle
Compared to more technical brawl tanks like Zarya or Reinhardt, Mauga’s gameplay is quite simple. He is designed to be played super aggressively and can survive highly aggressive gameplay moves thanks to his high self-sustain.
Mauga has a lot of survivability thanks to his Passive Berserker, which gives him temporary health for dealing critical damage. Compared to other heroes, Mauga can hit critical more easily than any other character; it’s actually part of his kit.
You set enemies on fire with his primary, and deal critical damage to those burning enemies with this secondary, getting a lot of temporary health. Combine that with his Cardiac Overdrive, which gives him extra Damage reduction and lifesteal, and you have a tank that’s extremely difficult to burst down. Add some competent healers in the mix and Mauga becomes a high-damage-dealing, nearly unkillable tank if the other team isn’t coordinated.
Here’s what you should be doing when you start out with Mauga. Push into enemies’ DPS or Supports when you find an opening, nail them down with your serious damage output. If you get low, pop your Cardiac Overdrive; it will give a quick healing burst. If things get messy, just escape with Overrun.
In short, with Mauga, you are always looking for duels or ways to push in deeper. You can use your mobility to push in to apply pressure or use it to rotate back to your team. Play a super aggressive game because that’s what his kit is designed for.
Orisa
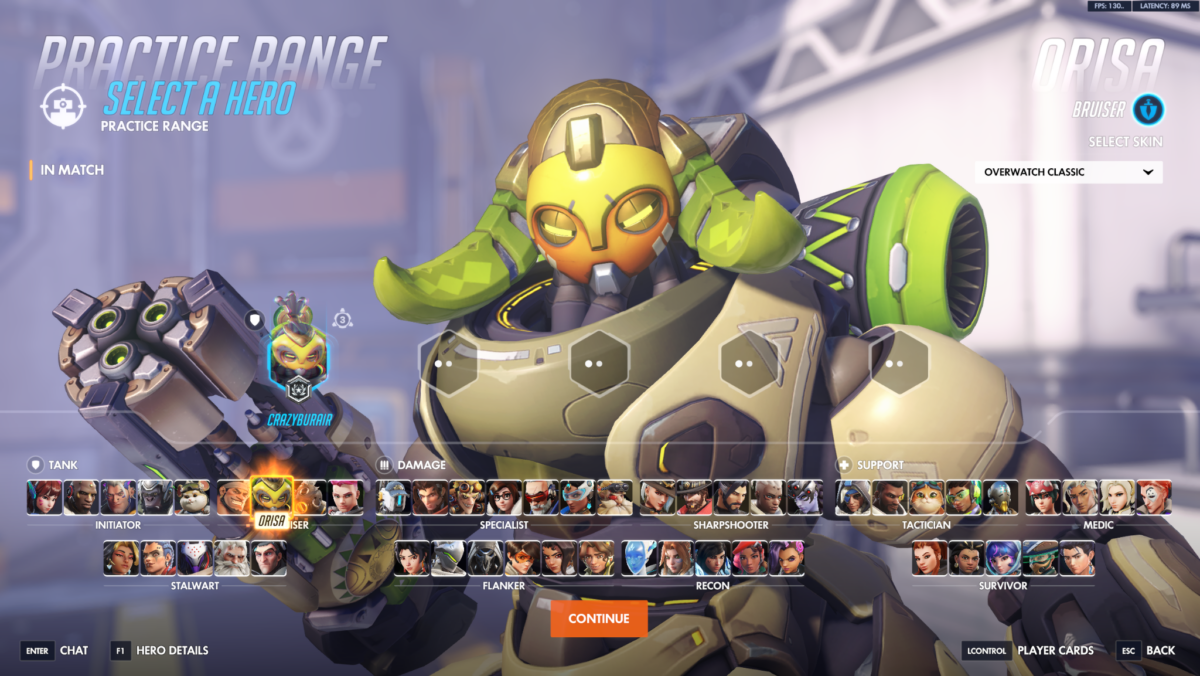
Orisa is one of the most versatile tanks in the game, mainly because she can fit all three types of comps. If you want to be a one-trick tank main, Orisa is a great choice. She is extremely difficult to kill and can consistently control space with minimal mechanical complexity.
Kit Overview
- Augmented Fusion Driver: An automatic, projectile-based minigun with infinite ammo, but it can overheat.
- Fortify: Reduces incoming damage and prevents crowd control effects.
- Energy Javelin: Throws a spear that stuns and pushes enemies backward, more effective if the enemy hits a wall after being hit.
- Javelin Spin: Destroys incoming projectiles while pushing enemies away.
- Terra Surge: Pulls enemies inward, then unleashes a powerful area attack.
Playstyle
Orisa should be played aggressively. She has a lot of survivability with both Fortify and Javelin Spin. You thrive in close spaces like rooms or chokepoints: use your Javelin Spin to isolate enemies from the team, and finish them off. The Javelin Spear is great for poking the backline for damage.
In short, you have to play aggressively and focus on hunting DPS and Supports. But most importantly, try to take up space. Orisa is great at taking space because of her high survivability and damage output. She can take a lot of frontline pressure and keep moving. However, you don’t have much mobility, so there is no escaping if you push too far in.
Conclusion
These heroes are good choices because they are quite forgiving. You can and will make mistakes, but you don’t get punished as hard when playing the heroes in this list. So, play these characters while you learn the ropes, and then you can try out some of the more complex heroes.
PakarPBN
A Private Blog Network (PBN) is a collection of websites that are controlled by a single individual or organization and used primarily to build backlinks to a “money site” in order to influence its ranking in search engines such as Google. The core idea behind a PBN is based on the importance of backlinks in Google’s ranking algorithm. Since Google views backlinks as signals of authority and trust, some website owners attempt to artificially create these signals through a controlled network of sites.
In a typical PBN setup, the owner acquires expired or aged domains that already have existing authority, backlinks, and history. These domains are rebuilt with new content and hosted separately, often using different IP addresses, hosting providers, themes, and ownership details to make them appear unrelated. Within the content published on these sites, links are strategically placed that point to the main website the owner wants to rank higher. By doing this, the owner attempts to pass link equity (also known as “link juice”) from the PBN sites to the target website.
The purpose of a PBN is to give the impression that the target website is naturally earning links from multiple independent sources. If done effectively, this can temporarily improve keyword rankings, increase organic visibility, and drive more traffic from search results.